
Installing a Garage Door Opener? Here’s What You Should Know
- COMMERCIAL GARAGE DOOR REPAIR
- GARAGE DOOR OPENER INSTALLATION
- GARAGE DOOR SPRING REPAIR
- SAME-DAY GARAGE DOOR REPAIR
- CUSTOM GARAGE DOOR
- GARAGE DOOR OPENER REPAIR
- GARAGE DOOR TRACK REPAIR
- GARAGE DOOR CABLE REPAIR
- GARAGE DOOR PANEL REPAIR
- LOCAL GARAGE DOOR REPAIR
- GARAGE DOOR REPLACEMENT
- NOISY GARAGE DOOR FIX
- GATE REPAIR
- GARAGE DOOR INSTALLATION
- GARAGE DOOR SECTION REPLACEMENT
- OVERHEAD GARAGE DOOR REPAIR
Installing a Garage Door Opener? Here’s What You Should Know
Thinking of tackling garage door opener installation yourself? Installing a new garage door opener is a fantastic way to upgrade your home. It enhances convenience, improves security, and even adds value to your property! But before you grab your toolkit, there are a few key things you should consider. This guide will walk you through the essentials to ensure a smooth and successful installation.
What You Need Before Starting
Installing a garage door opener becomes much easier when you’re fully prepared. To help you get started, here’s what you’ll need.
1. Gather the Right Tools for the Job
First, start by making sure you have the right tools on hand. This will save you a lot of hassle down the road. Most installations typically require basic tools such as a drill, a screwdriver set, a wrench, a level, and a step ladder. Additionally, don’t forget to double-check the installation guide that comes with your opener. It may list any extra tools or materials you’ll need to complete the job smoothly.
2. Choose the Right Garage Door Opener
Next, focus on selecting the right garage door opener for your needs. Since garage door openers come in different types, choosing the best one can make or break your installation experience. The three main types are chain-drive, belt-drive, and screw-drive openers.
- Chain-drive openers are a durable and affordable option, but they can be a bit noisy.
- Belt-drive openers run more quietly, making them a great choice for homes with living spaces close to the garage.
- Screw-drive openers require less maintenance and are ideal for lighter doors.
As you make your decision, also consider the size and weight of your garage door. A heavier door, such as one made from solid wood or insulated materials, will need a more powerful motor to operate efficiently.
3. Prioritize Safety First
Finally, always make safety your top priority. Before you begin, check to ensure that your garage door is balanced and fully operational. If the springs or tracks need adjustments, don’t try to handle them yourself. These components can be dangerous to work with, so it’s best to leave them to professionals for safety reasons.
By following these steps and keeping these tips in mind, you’ll set yourself up for a smoother and safer garage door opener installation.
Step-by-Step Installation Tips
Installing a garage door opener isn’t just about following the manual; it requires attention to detail and a few insider tips to avoid common mistakes. Here’s how to get it right:
1. Start by Carefully Following Manufacturer Instructions
Even though most openers have a similar setup process, every model has unique details. So, begin by thoroughly reading the manufacturer’s instructions. This step will save you time later and help prevent damage to your garage door opener.
2. Next, Assemble the Rail and Attach It to the Motor
Once you’ve reviewed the instructions, move on to assembling the rail and connecting it to the motor unit. This step is typically outlined in the guide. Be sure to tighten all screws properly so you won’t run into issues down the road.
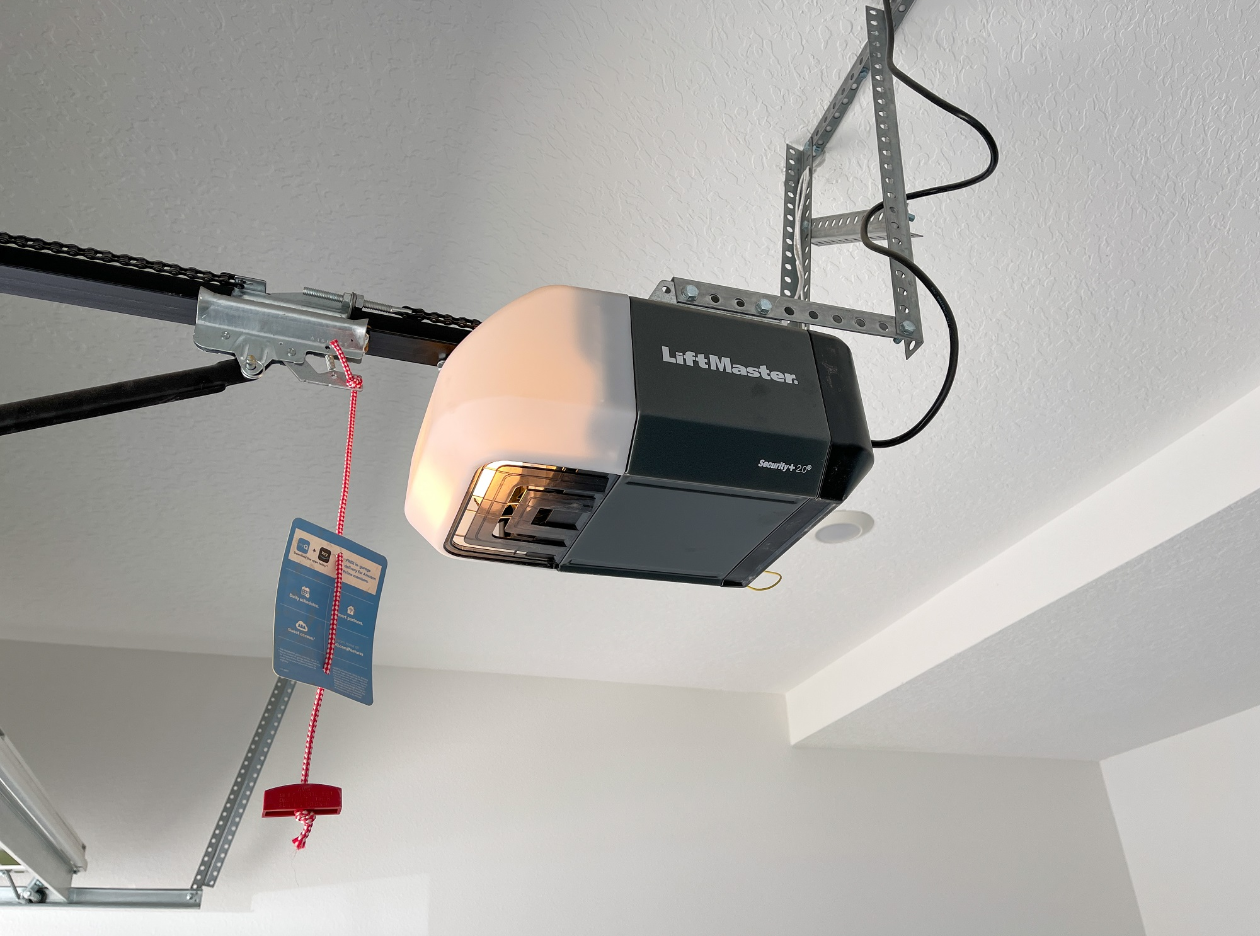
3. Then, Mount the Motor Unit
After assembling the rail, proceed to mount the motor unit on your garage ceiling. Use a level to double-check alignment, as even a slight misalignment can cause the opener to malfunction over time.
4. Secure the Garage Door Bracket
With the motor in place, attach the bracket to your garage door securely. Follow the instructions closely here and ensure the bracket is properly adjusted to reduce strain on the door.
5. Finally, Test the Opener
Once everything is set up, plug the motor into a power source and test the opener. Make sure the garage door opens and closes smoothly, without any strange noises or sudden jerks. Adjust as necessary to ensure optimal performance.
By following these steps in sequence, you’ll set up your garage door opener efficiently and avoid potential headaches later.
Professional Help is Always an Option
If you find the process of garage door opener installation overwhelming, don’t hesitate to call in a professional. Experts can save you time, ensure safety, and help with adjustments that require specialized tools or knowledge.
Upgrading Your Garage, One Step at a Time
Installing a garage door opener is a smart home improvement project that offers great rewards. Just take your time, prepare well, and follow the steps above for a successful installation. And remember, Powell Garage Door Repair is always a call away if you need professional help.